How to Show a Different Header Menu for Different Collections pages

How to Show a Different Header Menu for Different Collections pages
Creating a tailored experience for your customers is essential in eCommerce, and one of the most effective ways to achieve this is by customizing your store's header menu based on the collection being viewed. Shopify allows store owners to create unique templates for different collections, enabling different navigation menus on each one.
In this article, we’ll walk you through how to set this up step-by-step using custom collection templates and theme code edits.
Why Use Different Menus for Different Collections?
Using different menus for each collection can improve:
-
User experience by showing relevant links based on the product category.
-
Conversions by guiding users to the most relevant subcategories or offers.
-
SEO through better internal linking.
-
Clarity and engagement on mobile, where minimal but targeted navigation is ideal.
For example:
-
On a clothing collection, the menu might include: Men, Women, T-Shirts, Jeans.
-
On an accessories collection, the menu might include: Watches, Jewelry, Bags, Sale.
How to Set Up Dynamic Menus by Collection
Step 1: Create a Custom Collection Template
-
Go to Online Store → Themes → Edit Code.
-
Under the Templates folder, click “Add a new template”.
-
Select Collection and give your template a name, e.g.,
custom-menu. -
Shopify will create a new file like
collection.custom-menu.json.
This new template will be used to show a custom menu for specific collections.
Step 2: Edit Header Files to Support Custom Menus
Next, you’ll modify the theme's header files to render a different menu based on the collection template.
-
Open the following files:
-
header.liquid -
header-drawer.liquid -
header-mega-menu.liquid
-
-
In each of these files, find the loop where menu items are rendered (usually something like
section.settings.menu.links). -
Replace this with logic that checks for the template and loads a different menu. For example:
{% if template.suffix == 'custom-menu' %}
{% assign new_menu = linklists['custom-menu-handle'].links %}
{% else %}
{% assign new_menu = section.settings.menu.links %}
{% endif %}
Then use new_menu inside the for loop to render menu items.
4.Repeat this change in all three header files and save your changes.
Step 3: Create Your Custom Menu
-
Go to Navigation in your Shopify Admin.
-
Create a new menu (e.g., “Custom Menu”).
-
Add the desired links to this menu.
-
Take note of the menu handle (usually auto-generated from the menu name, like
custom-menu).
This handle is used in the code above.
Step 4: Assign the Template to a Collection
-
Go to Products → Collections.
-
Open the collection you want to apply the custom menu to.
-
In the Theme template dropdown, choose your new template (e.g.,
collection.custom-menu). -
Save the collection.
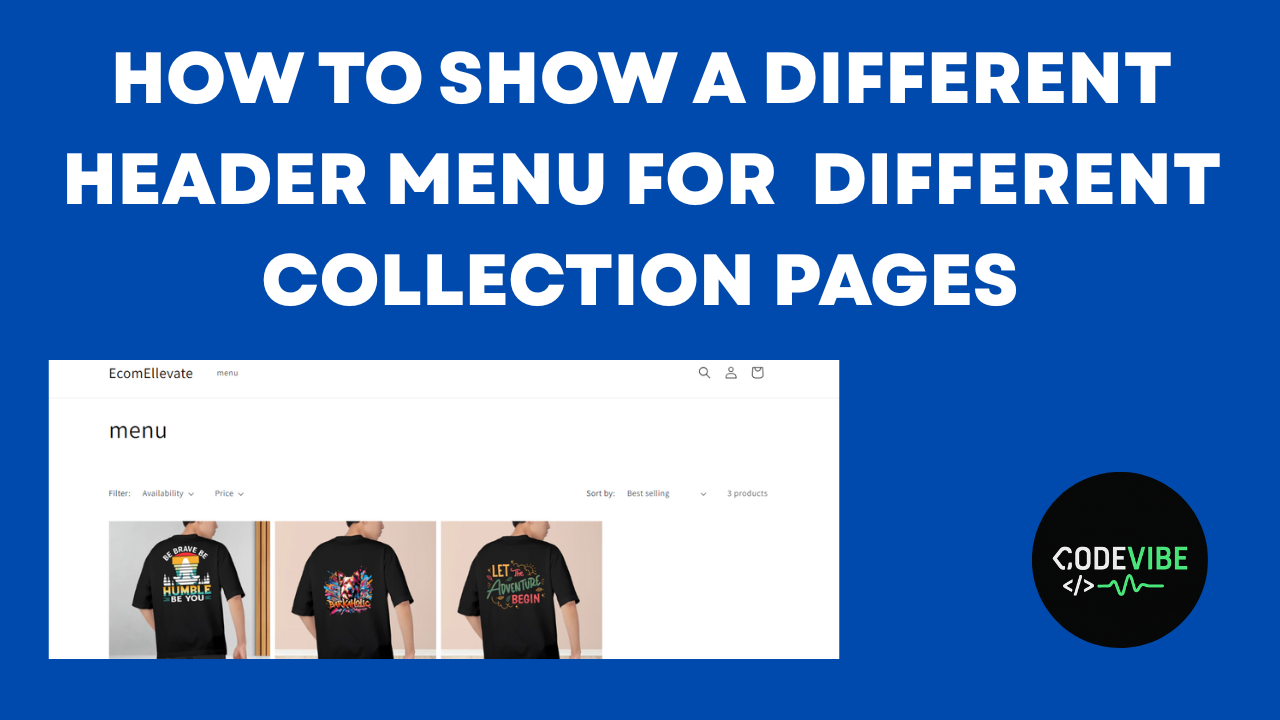
When you now visit the collection page with the assigned template, you should see a different menu rendered based on your configuration. On all other collections or pages using the default template, the standard menu will continue to appear.
This creates a personalized browsing experience for each product category, increasing usability and engagement.


0 Comments
Why don’t you start the discussion?